
Generate an Invoice
Permissions Required
Send Invoices
Getting There
- Select Jobs from the Arclight main menu
- Choose the job you want to generate an invoice for.
- Tap the "Generate Invoice" button on the job detail page
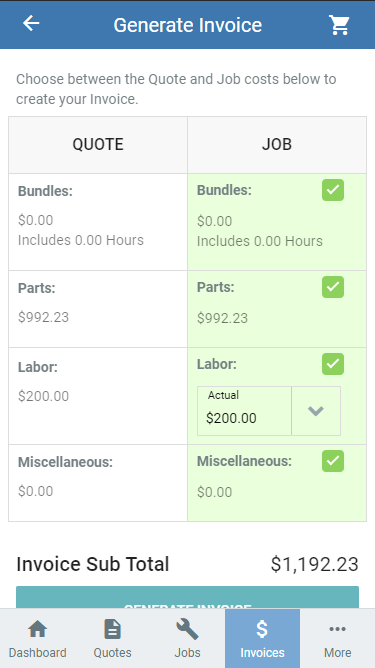
Selecting Costs for the Invoice
The first step in generating an invoice is to choose between the quoted costs or the actual costs recorded on the job. Arclight will automatically choose the costs recorded on the job but you can change to use the costs from the quote by tapping on the item in the "Quote" column.
Sending the Invoice
Create terms and conditions, provide additional details to your customers, including your terms of service, cancelation policy, return policy or any other personalized message.
QuickBooks Invoicing
If you have connected Arclight to QuickBooks the next step after the invoice is generated is to send the invoice to your general ledger in QuickBooks.
Tapping the "Send to General Ledger" button will send all the information from the invoice to QuickBooks. You can then finish processing the invoice in QuickBooks. Contractors can easily invoice their customers through Arclight or QuickBooks and get paid faster.
Tapping the "Send to General Ledger" button will send all the information from the invoice to QuickBooks. You can then finish processing the invoice in QuickBooks. Contractors can easily invoice their customers through Arclight or QuickBooks and get paid faster.
Arclight Invoicing
If you are not connected to QuickBooks you can tap on the "Send Invoice" button to send a link to the invoice to the customer using text or email. The customer can view or download the invoice from the link.