QuickBooks Desktop
Permission Required
General Ledger Integration
Getting There
- Select More from the Arclight main menu
- Select General Ledger Integration from the Arclight menu
- Select QuickBooks Desktop from the GL Integration menu
QuickBooks Information
The first step in setting up Arclight to work with QuickBooks Desktop is to provide your QuickBooks Desktop user name and password. You will also be asked for an email address so Arclight can send you instructions for completing the setup on your desktop computer running QuickBooks Desktop.
Completing the Integration
On your desktop computer running QuickBooks Desktop, locate the email sent from Arclight. The email contains a Word document with detailed instructions for completing the integration and a QuickBooks web connector file. You can download instructions here.
The high-level steps to complete the integration are:
The high-level steps to complete the integration are:
- Save the .qwc file to your desktop
- Open QuickBooks Desktop
- Open your existing company
- Go to File / Update Web Services
- Click "Add an Application"
- Locate and select the .qwc file saved to your desktop
- Select the checkbox next to the new application, enter QuickBooks password and click "Update Selected"
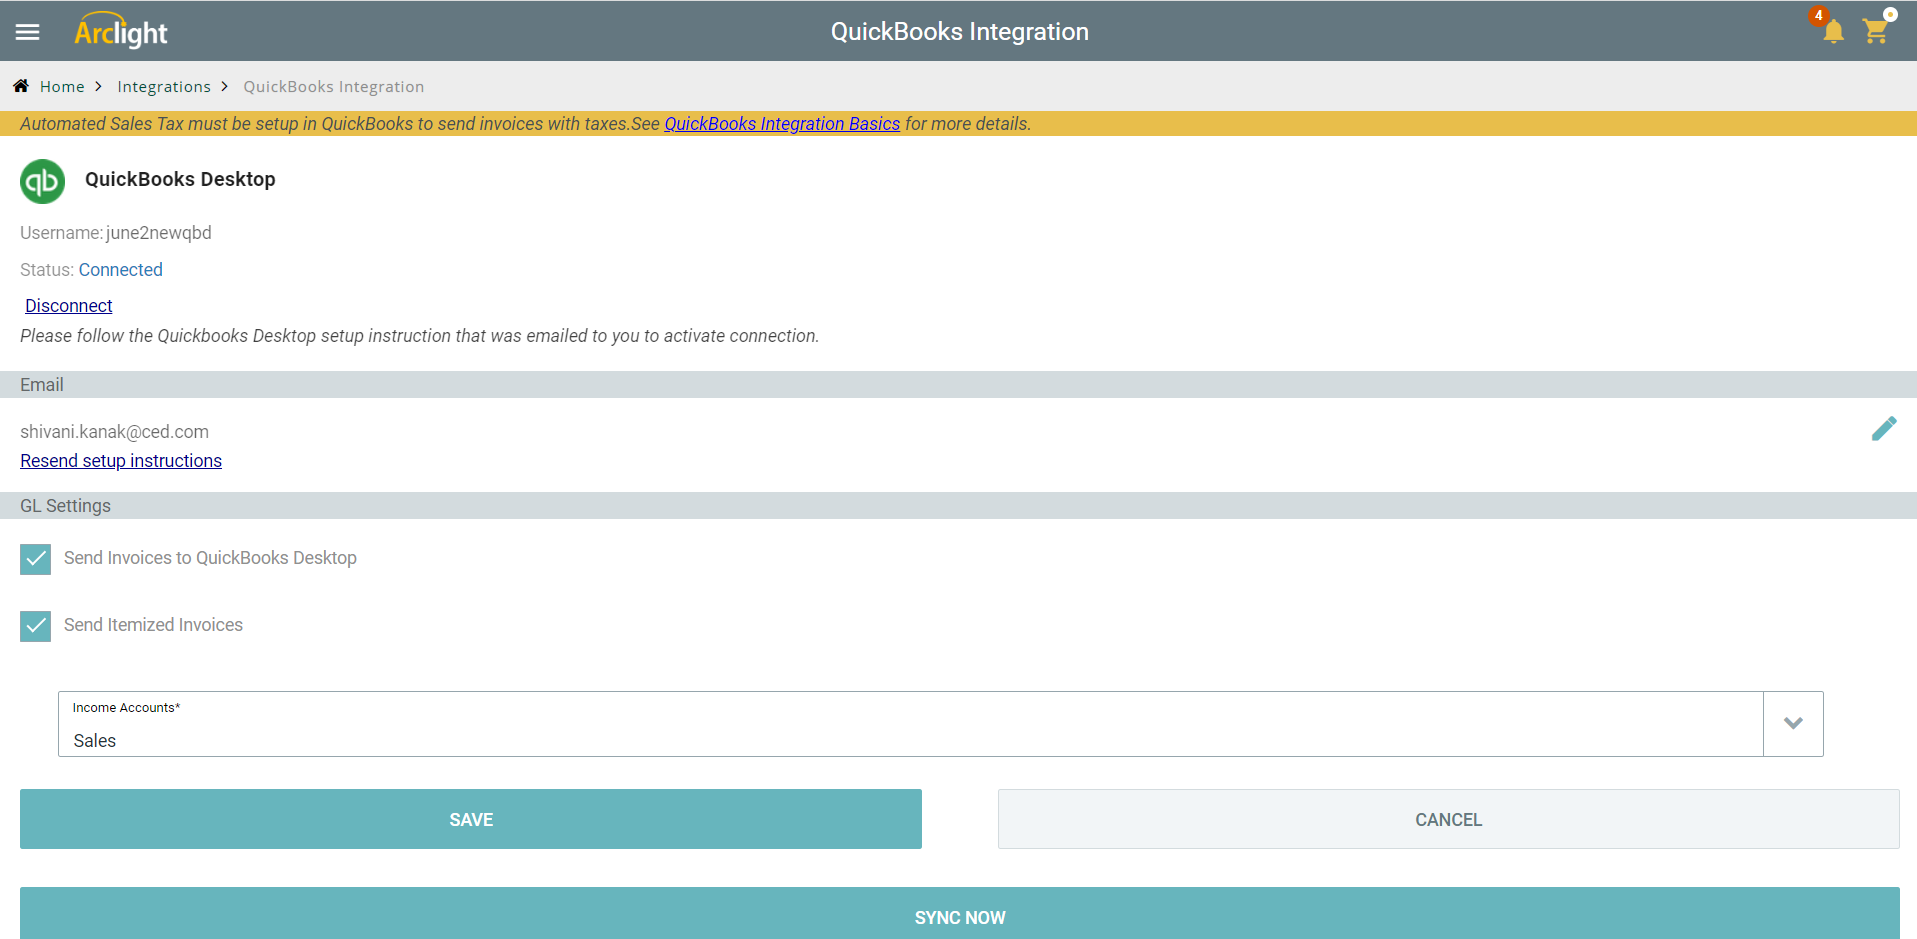
Confirm the Integration in Arclight
Back in Arclight the status should change to "Connected". Be sure the option to send invoices to the General Ledger is selected.
If you want to send itemized invoices to QuickBooks Desktop make sure the "Send Itemized Invoices" option is checked.