
QuickBooks Online
Permissions Required
General Ledger Integration
Getting There
- Select More from the Arclight main menu
- Select General Ledger Integration from the More menu
- Select QuickBooks Online from the GL Integration screen
IMPORTANT QuickBooks Online SETTINGS INFORMATION
In order for the integration with QuickBooks Online to send invoices the setting called "Custom transaction numbers" in QuickBooks Online must be set to "Off".
You can view and change that setting by going to the settings menu (gear icon), choosing "Account and settings" under YOUR COMPANY. "Custom transaction numbers" is in the "Sales form content" section under "Custom Fields".
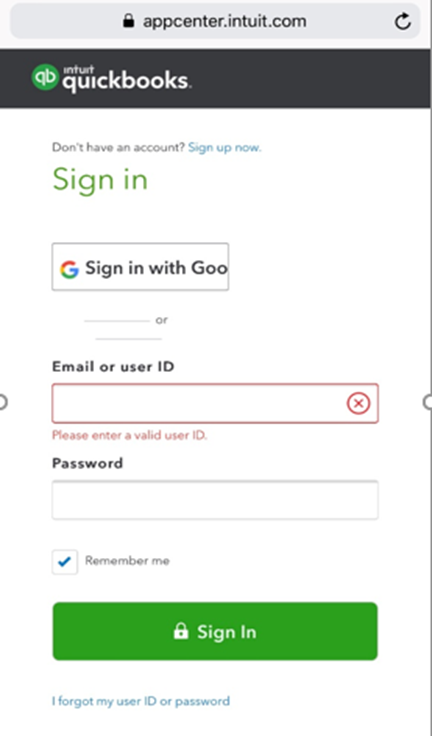
QuickBooks Online Login
The fist step in setting up Arclight to work with QuickBooks Online is to login in to QuickBooks online.
Connect to Arclight
Once logged in you will be asked to connect QuickBooks to Arclight. Tap the "Connect" button to continue. You should see a confirmation screen that indicates Arclight has successfully connected to QuickBooks online.
Tap "< Arclight" in the top left corner of the screen to go back to Arclight.
Tap "< Arclight" in the top left corner of the screen to go back to Arclight.
Completing the Integration
Once you are back in Arclight you will see countdown page while Arclight completes the integration. During this time Arclight will download your customers from QuickBooks so you can use them on quotes, jobs, and invoices.
Confirm the Integration in Arclight
In Arclight the status should change to "Connected". Be sure the option to send invoices to the General Ledger is selected.
To send itemized invoices to QuickBooks Online make sure and check the "Send Itemized Invoices" option.
Click "Save" to save these options.
